

Are you tired of your guitar sounding like it’s been through a wood chipper instead of a rock concert? Well, fear not, dear guitar enthusiasts, because Fender‘s definitive guitar maintenance manual is here to save the day! In this guide, we will explore expert tips to keep your beloved instrument perfectly tuned, polished, and ready to rock your socks off. So grab your guitar, dust off those cobwebs, and get ready to be the envy of every musician on the block. Let’s dive in and make sure your guitar is as shiny and pristine as your rockstar dreams!
Contents
- 1 Understanding Your Fender Guitar’s Anatomy
- 2 Selecting the Right Tools for Your Maintenance Kit
- 3 Mastering the Art of String Replacement and Tuning
- 4 Navigating the Fretboard: Cleaning and Conditioning
- 5 Shielding and Wiring: Ensuring Optimal Electronic Health
- 6 Achieving Optimal Action: Adjustments for Playability
- 7 Seasonal Care: Adapting Guitar Maintenance to Changing Climates
- 8 FAQs
- 9 Rock on, Fender fanatics!
Understanding Your Fender Guitar’s Anatomy
Alright, fellow rockstars, let’s dive into the nitty-gritty details of your beloved Fender guitar’s anatomy. From the headstock to the bridge, we’ll break it down in a way that even non-guitarists can understand (maybe).
First up, let’s talk about the headstock. This bad boy is where your tuning pegs live, allowing you to tighten or loosen the strings to hit those sweet, sweet notes. It’s like the control center of your guitar, so treat it with care or risk some seriously out-of-tune jams.
Next, we’ve got the neck. This is where all the magic happens – sliding your fingers up and down the fretboard, creating killer solos that would make even Jimi Hendrix jealous. Just be sure to keep it nice and clean, because nobody likes a sticky neck (guitar neck, that is).
Now, onto the body of the guitar. This is where the real action goes down – strumming, picking, shredding until your fingers bleed (metaphorically, hopefully). Treat your guitar body like a temple, and it will reward you with killer riffs for years to come.

Selecting the Right Tools for Your Maintenance Kit
When it comes to creating the perfect maintenance kit, it’s important to have the right tools for the job. Here are some essentials to consider including in your kit:
- Duct Tape: The ultimate fix-all for any situation. Need to patch up a leaky pipe? Duct tape. Broken handle on your favorite mug? Duct tape. Plus, it comes in fun colors and patterns for a touch of flair.
- WD-40: The multi-purpose lubricant that can unstick just about anything. From squeaky hinges to rusty bolts, WD-40 is a must-have in your toolkit.
- Screwdriver Set: Whether you’re tightening a loose screw or assembling furniture, a good set of screwdrivers is essential. Bonus points if they’re magnetic to avoid dropping screws in hard-to-reach places.
- Flashlight: Because let’s face it, maintenance issues never happen in well-lit areas. A reliable flashlight is key for seeing into dark corners and under sinks.
Don’t forget to personalize your maintenance kit with tools that suit your specific needs. Whether you’re a DIY enthusiast or just looking to tackle small repairs around the house, having the right tools on hand can make all the difference.
So next time you’re faced with a maintenance issue, reach for your trusty kit and feel like a DIY superhero. Just remember, with great tools comes great responsibility (and maybe a few accidental thumb hammer hits).
Mastering the Art of String Replacement and Tuning
So you think you’ve got what it takes to master the art of string replacement and tuning? Well, get ready to dive into the wonderful world of guitar maintenance with a few tips and tricks that will have you strumming like a pro in no time!
First things first, when it comes to replacing your strings, make sure you’ve got the right tools for the job. A good set of wire cutters, a peg winder, and a tuner are your best friends in this endeavor. Remember, a well-equipped guitarist is a happy guitarist!
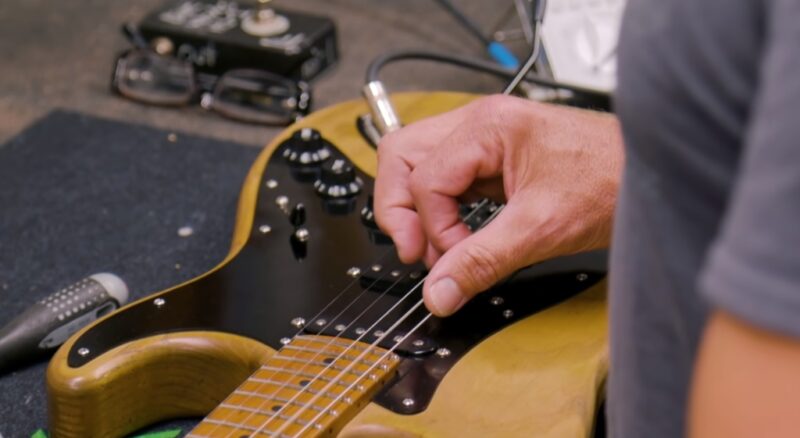
When it comes time to actually replace those old, worn-out strings, take your time and be gentle. Slowly unwind the old string and carefully remove it from the tuning peg. Once you’ve got the new string in place, use your peg winder to tighten it up, making sure it’s nice and snug. And don’t forget to stretch those strings out a bit to help them settle in!
Now, onto the fun part – tuning! Use your trusty tuner to make sure each string is at the proper pitch. A little twist here, a little tweak there, and before you know it, you’ll be playing in perfect harmony. And remember, practice makes perfect – so keep at it and soon enough, you’ll be a string-replacing, tuning master!

Alright, fellow guitar enthusiasts, let’s talk about keeping our fretboards in top-notch condition. After all, we spend hours navigating those frets, so we want them to be as smooth as a baby’s bottom, right?
First things first, let’s address the cleaning process. Grab yourself a soft, lint-free cloth and gently wipe down the fretboard to remove any built-up grime and sweat. Don’t be afraid to give it a good scrub – those frets have seen some serious finger action!
Next up, it’s time to condition that bad boy. Reach for a quality fretboard conditioner and apply it sparingly to the wood. Massage it in like you’re giving your fretboard a spa treatment - those frets deserve some pampering.
Lastly, don’t forget to buff that fretboard to a glossy sheen. A little elbow grease goes a long way in making your fretboard look and feel like new. Plus, a shiny fretboard will impress all your fellow guitarists at the next jam session. You’re welcome.
Shielding and Wiring: Ensuring Optimal Electronic Health
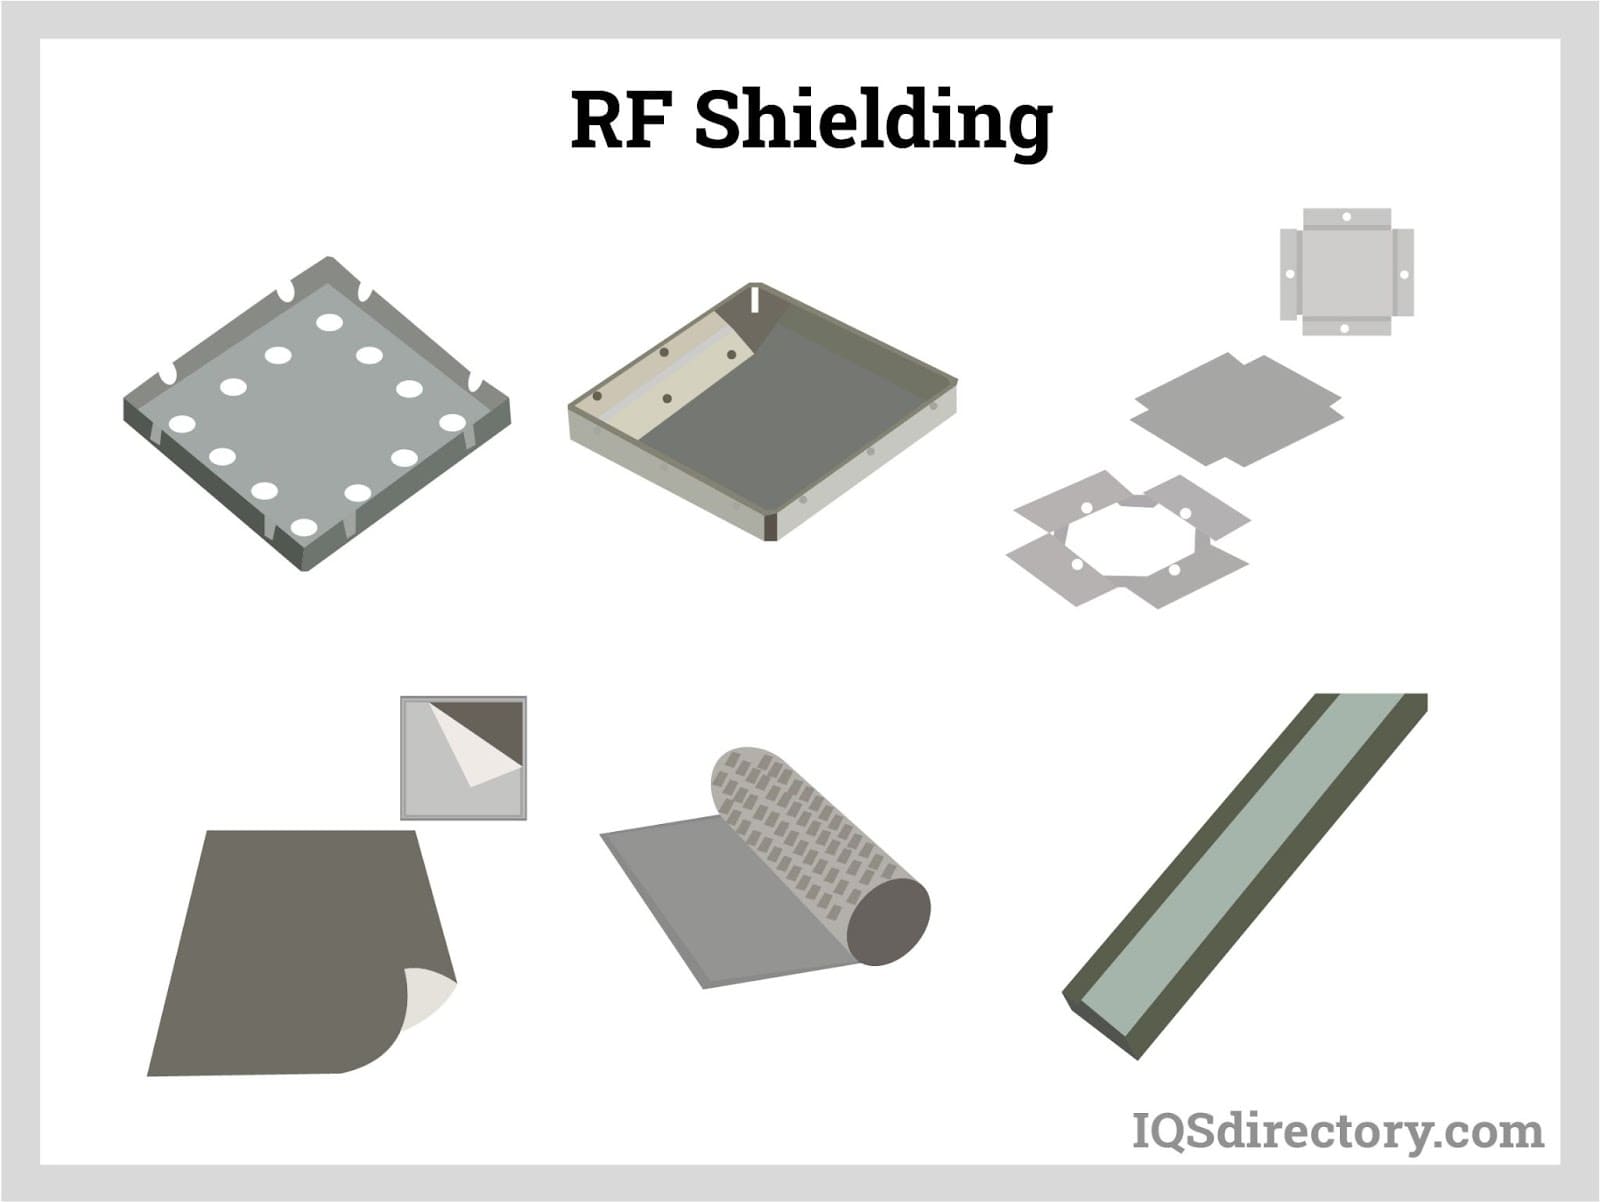
Have you ever wondered how electronic health devices manage to keep all of our important data safe from interference? Well, it’s all thanks to shielding and wiring! These essential components work together to ensure that our devices function optimally and keep our health information secure.
Shielding acts as a protective barrier, preventing electromagnetic interference from disrupting the flow of information within our devices. Think of it as a force field that keeps out any unwanted signals or disturbances. Without proper shielding, our electronic health devices would be vulnerable to all sorts of mishaps, from data corruption to signal loss.
Wiring, on the other hand, serves as the backbone of our electronic health devices. It connects all of the different components together, allowing them to communicate and work in harmony. Without well-structured wiring, our devices would be a jumbled mess of disconnected parts, unable to function properly. So, next time you marvel at the sleek design of your electronic health device, remember the unsung heroes that keep it all together – shielding and wiring!
So, the next time you’re feeling grateful for the security and reliability of your electronic health devices, give a little nod of appreciation to shielding and wiring. They may not be the flashiest components, but they play a crucial role in ensuring that our devices work like a charm. Here’s to the unsung heroes of electronic health – shielding and wiring!
Achieving Optimal Action: Adjustments for Playability
So, you’ve been struggling in your chosen game. Whether it’s a video game, board game, or even a sport, we’ve all been there. But fear not, my friend! With a few adjustments, you can achieve optimal action and improve your playability in no time.
First and foremost, make sure you’re in the right mindset before diving into the game. Clear your mind of any distractions and focus on the task at hand. Remember, it’s all about the game! Take a deep breath, channel your inner warrior, and get ready to conquer the competition.
Next, assess your playing environment. Is the lighting too dim? Are you sitting comfortably? Make sure you have everything you need within arm’s reach – snacks, drinks, maybe a lucky charm or two. Creating a comfortable and inviting space will help you stay focused and alert during gameplay.
Don’t forget to fine-tune your gameplay strategy. Take a step back and analyze your previous moves. Are you playing too aggressively or too passively? Adjust your tactics accordingly and find the perfect balance that works for you. Remember, it’s all about strategy and adaptability.
Seasonal Care: Adapting Guitar Maintenance to Changing Climates
Living in a place with ever-changing seasons can be tough on your beloved guitar. Just like we swap out our winter sweaters for summer shorts, our guitars also need some extra TLC during different times of the year.
When the weather gets hot and sticky, remember to:
- Keep your guitar away from direct sunlight, just like a vampire!
- Use a humidifier to prevent your guitar from drying out faster than a raisin in the sun.
On the flip side, when it’s frosty and bone-chilling outside, make sure to:
- Store your guitar in a case to protect it from extreme temperature changes.
- Give your fretboard some extra conditioning to prevent it from getting ashy and cracked.
Don’t let Mother Nature throw your guitar out of tune! By adapting your maintenance routine to the changing climates, your guitar will stay in tip-top shape all year round. Plus, it’s a good excuse to pamper your instrument like the rockstar it is!
FAQs
Can I use household cleaners to clean my guitar?
Oh, absolutely! Why spend money on specialized guitar cleaning products when you can just raid your kitchen cabinets instead? Feel free to give your guitar a nice coat of Windex or bleach while you’re at it.
Should I change my guitar strings regularly?
Nah, why bother? Who needs that crisp, clear tone anyway? Just keep rocking those rusty old strings until they snap and hit you in the eye. That’s the true rockstar experience.
What’s the best way to store my guitar?
Why bother with a fancy guitar stand or case? Just lean it against the wall in a high-traffic area where it’s sure to get knocked over and stepped on. It builds character, right?
How often should I clean my guitar’s fretboard?
Never. Let that grime build up and become one with the wood. Who needs smooth, fast fretting action when you can feel like you’re playing on a pile of sandpaper?
Do I really need to adjust the truss rod on my guitar?
Of course not! Why mess with the delicate balance of your instrument when you can just let it slowly warp and twist over time? Who needs proper intonation anyway?
Is it important to humidify my guitar?
Nah, guitars love dry, cracking wood. It adds character and makes your instrument look all rugged and weathered. Just leave it out in the sun and let nature do its thing.
Rock on, Fender fanatics!
Whether you’re a seasoned pro or just starting out on your guitar journey, remember that proper maintenance is key to keeping your instrument in top shape. With Fender’s definitive guitar maintenance manual in hand, you’ll be armed with all the tips and tricks you need to keep your guitar rocking for years to come.
So, grab your tools, put on some tunes, and get to work maintaining that sweet, sweet axe. Your guitar will thank you, and who knows, maybe you’ll even impress your bandmates with your newfound expertise. Keep strumming, keep shredding, and most importantly, keep rocking on!
