

Welcome to the wild and wacky world of guitar action adjustment! This article will teach you everything you need to know about setting the stage for perfect playability on your trusty six-stringed companion. So grab your tuning fork and buckle up, because we’re about to dive headfirst into the magical realm of mastering guitar action adjustment. Let’s rock and roll, shall we
Contents
- 1 Understanding Guitar Action and Its Significance
- 2
- 3 Step by Step: Adjusting Action at the Nut
- 4 Perfecting String Height at the Bridge
- 5 Troubleshooting Common Action Adjustment Issues
- 6 Post-Adjustment: Ensuring Optimal Playability
- 7 Maintaining Your Guitar’s Action Over Time
- 8 FAQs
- 9 This is Just the Beginning…
Understanding Guitar Action and Its Significance
So, you’ve got yourself a guitar and you’re ready to rock out like the next Jimi Hendrix. But hold on a second! Do you even know what guitar action is? No, it’s not a secret spy mission involving guitars. Guitar action is actually the distance between the strings and the fretboard. And guess what? It actually plays a pretty significant role in how your guitar sounds and plays.
Having the right guitar action can make playing a breeze, while the wrong action can make your fingers feel like they’re on a torture device. So, let’s break it down for you, shall we?
Here are a few things you need to consider when it comes to understanding guitar action:
- String Height: The height of the strings above the frets can affect playability. Low action means the strings are closer to the fretboard, making it easier to press down and play. High action means the strings are further away, which can make playing more challenging.
- Neck Relief: The curvature of the neck can also impact action. Too much relief can cause buzzing, while too little can make the strings feel stiff. Finding the right balance is key.
- Saddle Adjustment: Adjusting the saddle height can help fine-tune your guitar’s action. It’s like giving your guitar a little makeover to make it play like a dream.
precision-action-adjustment”>The Tools You Need for Precision Action Adjustment
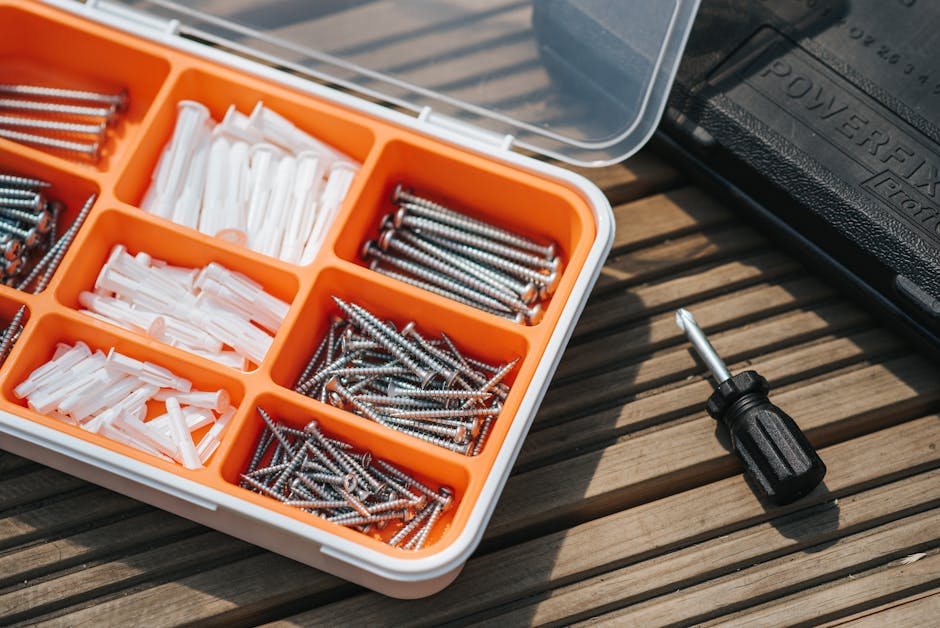
When it comes to precision action adjustment, having the right tools can make all the difference between a perfectly calibrated machine and a hot mess of confusion. Here are some essential tools to ensure your adjustments are as precise as a laser-guided missile:
– **Calipers**: Forget about eyeballing it – calipers are your best friend when it comes to measuring tiny distances with pinpoint accuracy. With their sleek design and easy-to-read dial, you’ll never have to worry about being off by a hair’s breadth again.
– **Screwdrivers**: A good set of screwdrivers is like having a magic wand in your hand. Whether you need to tighten a screw or adjust a component, having the right screwdriver for the job can mean the difference between success and failure.
– **Level**: Think your workstation is level? Think again. A level will show you just how wonky things can get when you’re not paying attention. Keep everything on the straight and narrow with this essential tool.
– **Tweezers**: When it comes to handling tiny parts with delicate precision, tweezers are a game-changer. With their fine-tipped design and ergonomic grip, you’ll feel like a brain surgeon as you make those tiny adjustments with ease.
With these tools in your arsenal, precision action adjustment will be a breeze. So grab your calipers, screwdrivers, level, and tweezers, and get ready to fine-tune your machine like a seasoned pro. Your precision work will speak for itself – loud and clear.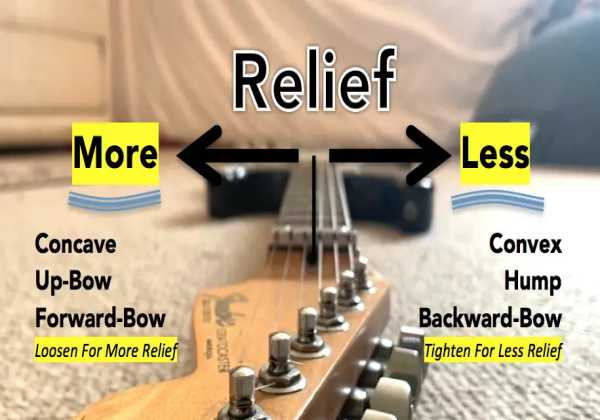
Step by Step: Adjusting Action at the Nut
So you’ve decided to take matters into your own hands and adjust the action at the nut of your guitar. Good for you! Now let’s get down to business.
First things first, gather all your tools – a set of nut files, a ruler, and some patience (trust me, you’ll need it).
Now, loosen the strings to relieve the tension on the nut. This step is crucial, unless you want your guitar to sound like a dying cat when you’re done.
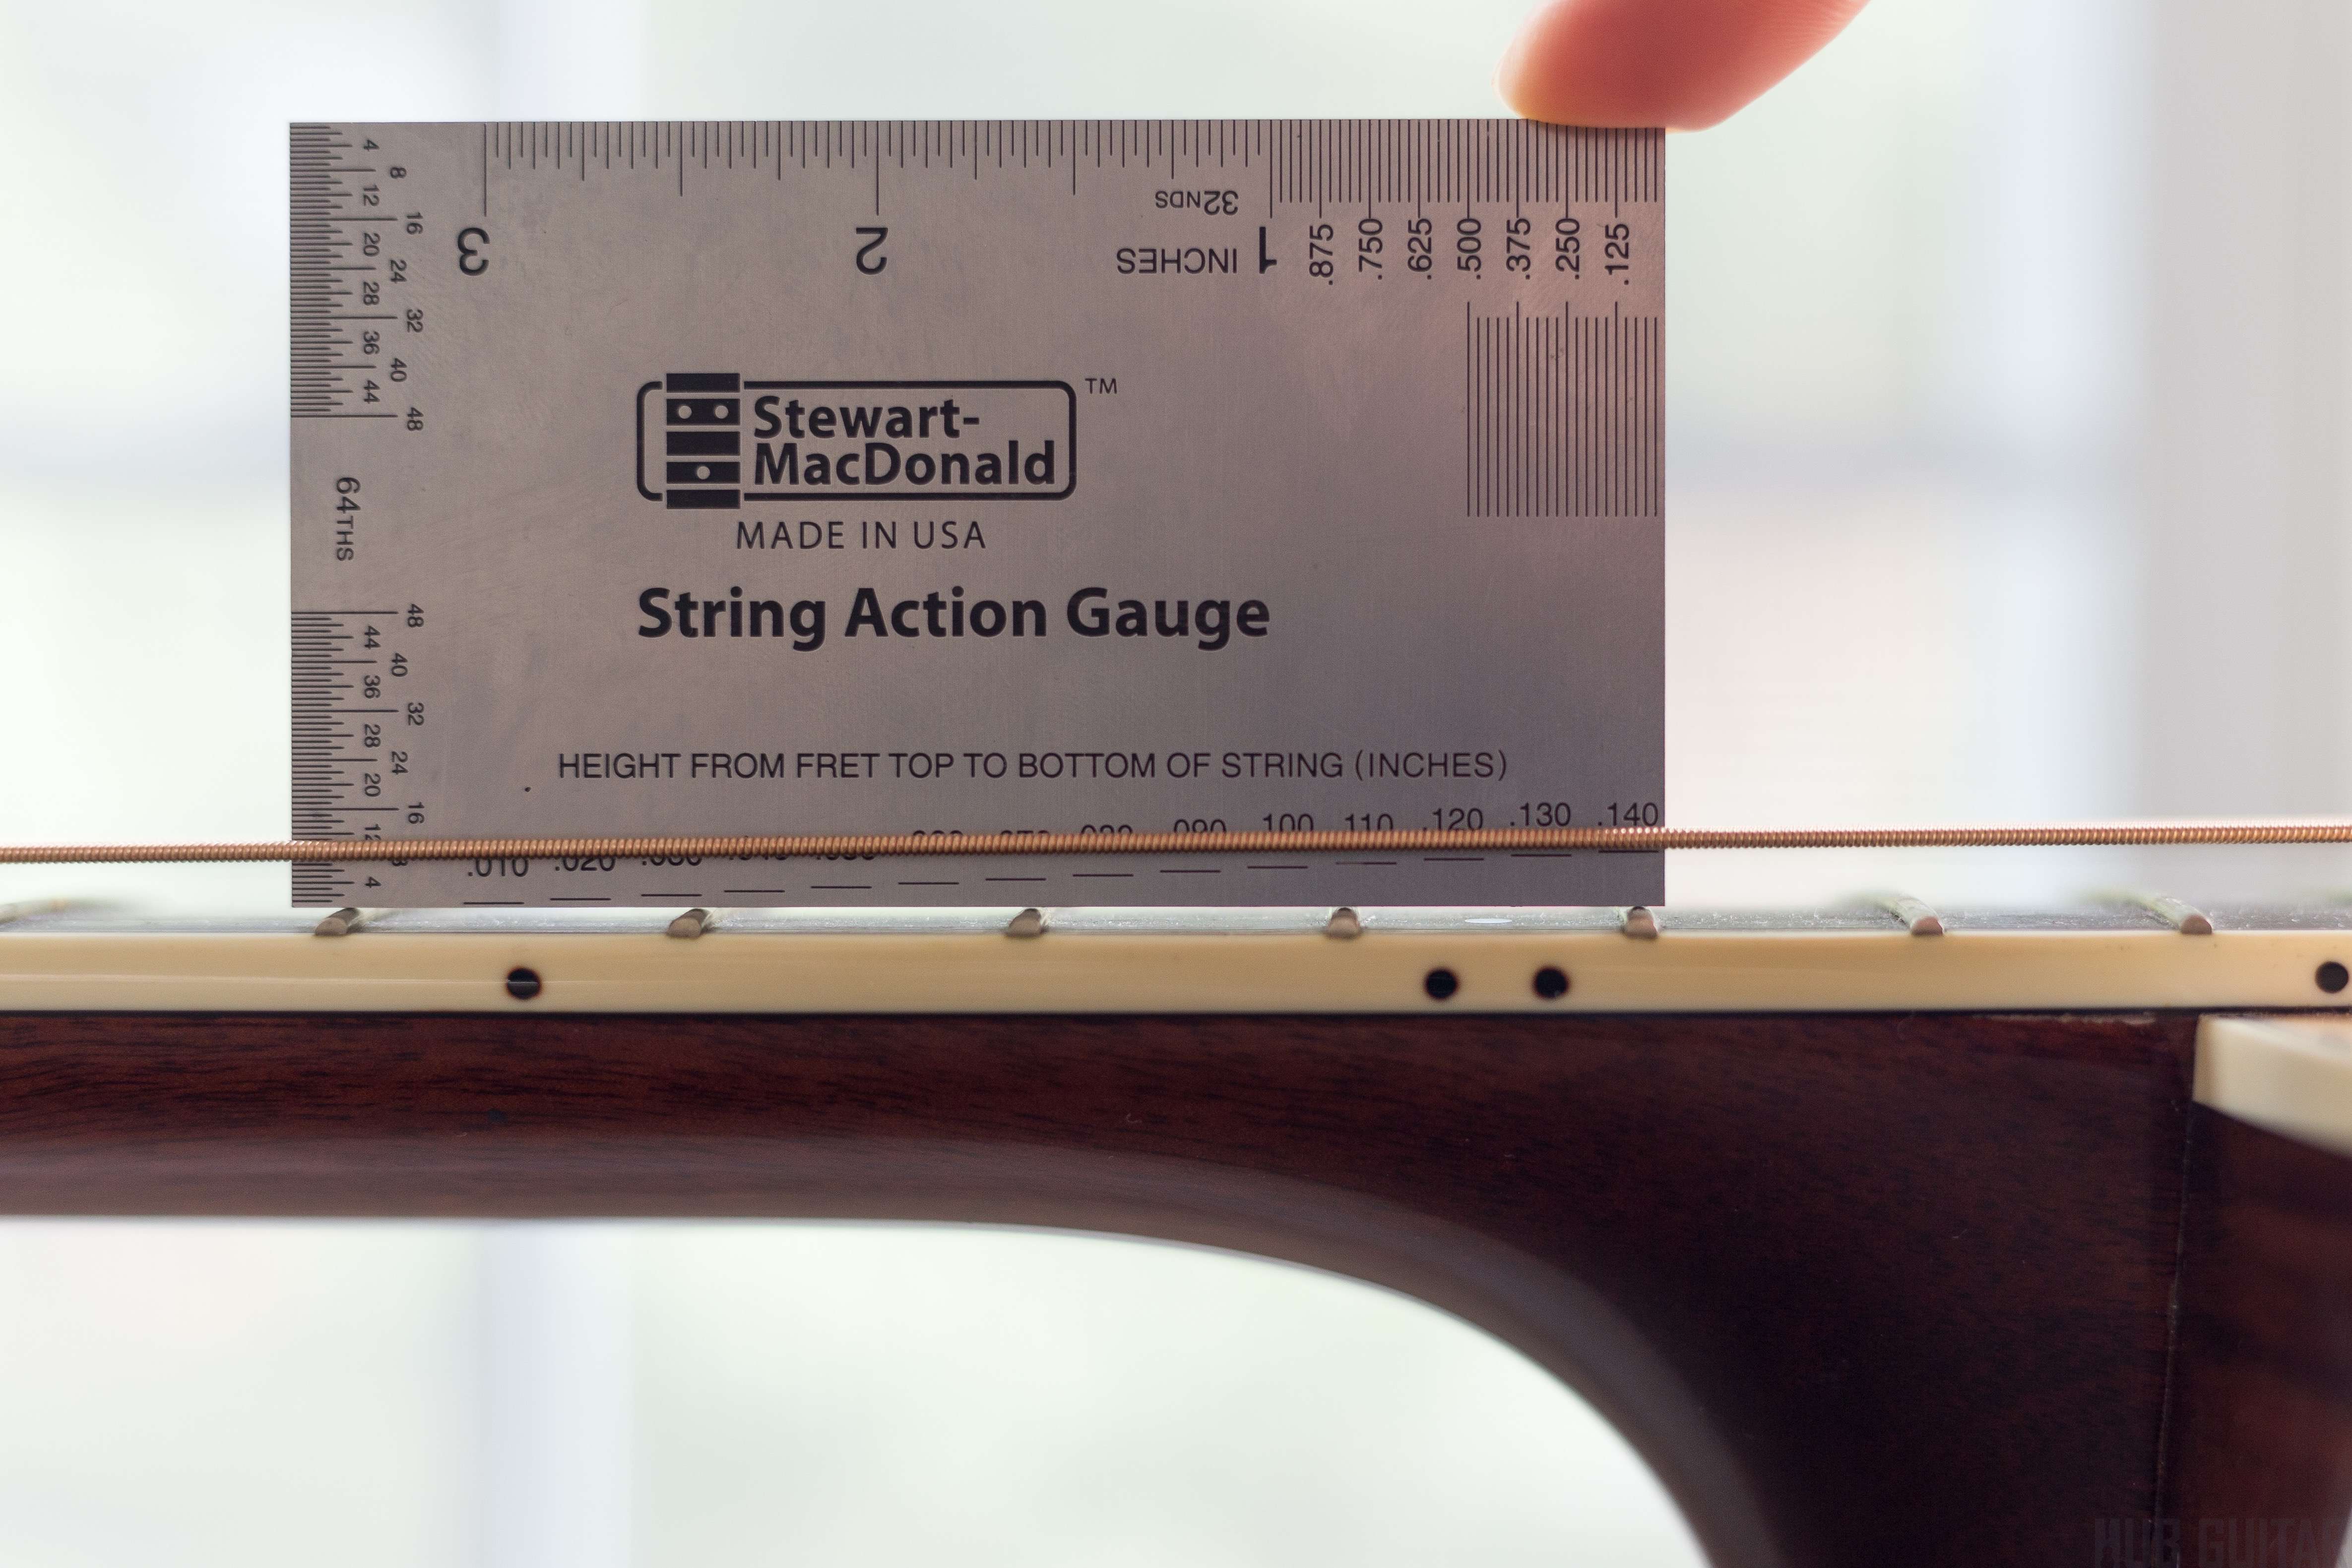
Next, carefully measure the current height of the strings at the nut. Remember, precision is key here. Use your ruler to make sure they are all at the same height.
Now comes the fun part – filing down the slots in the nut to lower the action. Take your time and file a little at a time, checking the height frequently. It’s a delicate process, like performing surgery on your beloved guitar.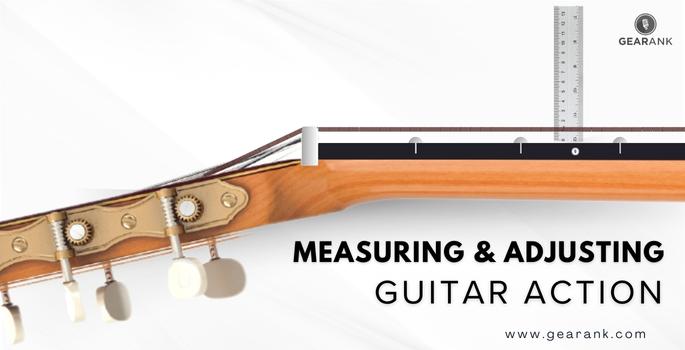
Perfecting String Height at the Bridge
So you’ve finally decided to tackle the task of perfecting the string height at your bridge. Congratulations! This is a task that requires precision, patience, and a healthy dose of humor. Let’s dive right in!
First things first, grab your trusty guitar and lay it on a flat surface. Make sure you have all the necessary tools handy – a ruler, a screwdriver, and a sense of determination.
Next, take a close look at the bridge of your guitar. This is where the magic happens, folks. Use your ruler to measure the current string height. Is it too high? Too low? Just right? Channel your inner Goldilocks and aim for that perfect balance.
Now, it’s time to make some adjustments. Carefully use your screwdriver to raise or lower the bridge, making sure to do so in small increments. Remember, perfection takes time – Rome wasn’t built in a day, and neither was a perfectly set string height.
Troubleshooting Common Action Adjustment Issues
If you find yourself struggling to adjust your actions properly, don’t worry, you’re not alone! Here are some common issues and solutions to help you troubleshoot like a pro:
- Sticky screws: If you’re having trouble turning the screws to adjust your actions, try using a little bit of lubricant to help loosen them up. Just be careful not to overdo it – we don’t want your actions slipping and sliding all over the place!
- Misaligned parts: Sometimes, the parts of your actions can get out of whack and make it difficult to adjust them properly. Take a closer look and make sure everything is lined up correctly before trying to make any adjustments.
- Loose springs: If your springs are feeling a little too loosey-goosey, you might need to tighten them up a bit. Just be sure not to overtighten, or you’ll risk damaging your actions beyond repair!
Remember, adjusting actions can be a tricky business, but with a little patience and some handy tips, you’ll be back to playing like a pro in no time. And if all else fails, there’s no shame in calling in the professionals – sometimes a little outside help is all you need to get your actions back on track!
Post-Adjustment: Ensuring Optimal Playability
Now that you’ve made all the necessary adjustments to your game settings, it’s time to focus on ensuring optimal playability. Here are a few tips to make sure you have the best gaming experience possible:
- Check Your Graphics: Make sure your graphics settings are dialed in just right. You don’t want to sacrifice performance for fancy visuals, but you also don’t want to play in a pixelated nightmare.
- Smooth Gameplay: Ensure your frame rate is steady and smooth. No one likes a laggy game – except maybe your opponents who can take advantage of your stuttering screen.
- Customize Your Controls: Make sure your controls are personalized to your liking. You don’t want to be fumbling around with awkward key bindings while trying to fend off enemies.
Don’t forget to take breaks and stretch those gaming muscles every now and then. It’s important to avoid cramps and soreness, unless you enjoy the feeling of being hunched over your keyboard like a goblin. And lastly, remember to have fun! Gaming is meant to be enjoyable, so don’t stress too much about achieving perfection in every game.
Maintaining Your Guitar’s Action Over Time
So, you’ve finally found that perfect action on your guitar. The strings are perfectly balanced, the frets feel smooth under your fingers, and you couldn’t be happier. But how do you make sure that this harmonious relationship between you and your guitar lasts over time? Here are a few tips to maintain your guitar’s action:
- Keep it clean: Dust and grime can build up on your guitar over time, affecting its playability. Wipe down your guitar regularly with a soft, damp cloth to keep it looking and feeling fresh.
- Check your neck: The neck of your guitar can warp or bow due to changes in temperature and humidity. Be sure to check the neck periodically and make any necessary adjustments to keep your action on point.
- Keep it hydrated: Just like you, your guitar needs to stay hydrated. Invest in a humidifier to keep the moisture levels stable, especially during dry winter months.
- Get regular check-ups: Take your guitar to a professional luthier for regular maintenance checks. They can spot any issues before they become major problems and help you maintain that perfect action.
FAQs
How can I tell if my guitar’s action needs adjusting?
Well, if your fingers are bleeding after every practice session, it’s probably a good sign that your guitar’s action is a little too high. Also, if you have to squint really hard just to see the fretboard, it might be time for an adjustment.
What tools do I need to adjust my guitar’s action?
Think of it like a mini construction project – you’ll need some screwdrivers, Allen wrenches, and maybe even a little bit of elbow grease. Just don’t go reaching for your chainsaw, we’re aiming for precision here, not destruction.
How do I know if I’ve adjusted the action too low?
If your guitar starts sounding like a buzzsaw instead of music, you’ve probably gone a tad too far. And if your strings start vibrating so violently that they fly off into outer space, well, you might want to dial it back a bit.
Is it better to have high or low action on my guitar?
Ah, the age-old question. It really depends on your personal preference and playing style. High action gives you better tone but makes playing a bit more challenging, while low action is easier to play but can sacrifice some of that sweet, sweet sound.
Should I attempt to adjust my guitar’s action myself or leave it to the pros?
If you’re feeling brave and have a steady hand, go ahead and give it a shot. Just remember – one wrong move could turn your guitar into a fancy paperweight. If in doubt, leave it to the professionals who have the experience and tools to get the job done right.
This is Just the Beginning…
Congratulations! You’ve now unlocked the secrets to mastering guitar action adjustment. So go ahead, tweak those strings and set the stage for some epic shredding. Just remember, if all else fails, you can always blame it on the weather or your pet hamster. Rock on!
